Mushrooms, with their diverse shapes, sizes, and textures, offer a fascinating subject for artists of all skill levels. Whether you’re a novice looking to explore the world of botanical illustration or an experienced artist seeking to refine your skills, this comprehensive guide will walk you through the process of creating stunning mushroom drawings. From basic sketching techniques to advanced shading methods, we’ll cover everything you need to know to bring these fascinating fungi to life on paper.
Now will explore various drawing materials, and step-by-step techniques to help you create captivating mushroom artwork. We’ll also delve into tips for adding realistic textures, incorporating mushrooms into larger compositions, and developing your unique style. By the end of this guide, you’ll have the knowledge and confidence to create beautiful mushroom drawings that capture the essence of these intriguing organisms.
Essential Drawing Materials
Choosing the Right Paper
Selecting the appropriate paper is crucial for achieving the best results in your mushroom drawings. Consider options such as sketch paper for practice and initial sketches, Bristol board for detailed work, watercolor paper for mixed media techniques, and toned paper for interesting backgrounds with highlights and shadows. When choosing paper, consider factors such as texture, weight, and absorbency to find the best fit for your drawing style and medium.
Selecting Drawing Tools
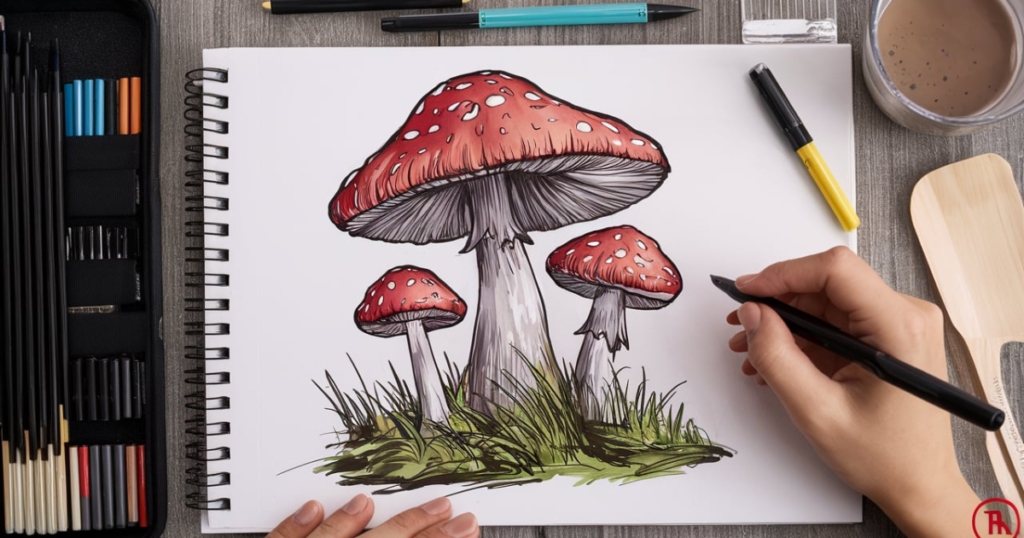
The right drawing tools can make a significant difference in the quality of your mushroom artwork. Essential tools include graphite pencils (HB for initial sketches, 2B-6B for shading), colored pencils for adding subtle or vibrant colors, fine-liner pens for crisp outlines and details, and erasers (kneaded eraser for lifting graphite, vinyl eraser for clean erasing). Experiment with different tools to find the combination that works best for your style and the effects you want to achieve in your mushroom drawings.
Understanding Mushroom Anatomy
Basic Mushroom Structure
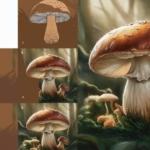
Before diving into drawing techniques, it’s essential to understand the basic anatomy of mushrooms. Most mushrooms consist of a cap (the umbrella-like top), gills (thin, blade-like structures under the cap), stem (the vertical support structure), and sometimes a ring (a skirt-like structure around the stem) or volva (a cup-like structure at the base). Familiarizing yourself with these components will help you accurately represent different mushroom species in your drawings.
Common Mushroom Types
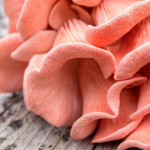
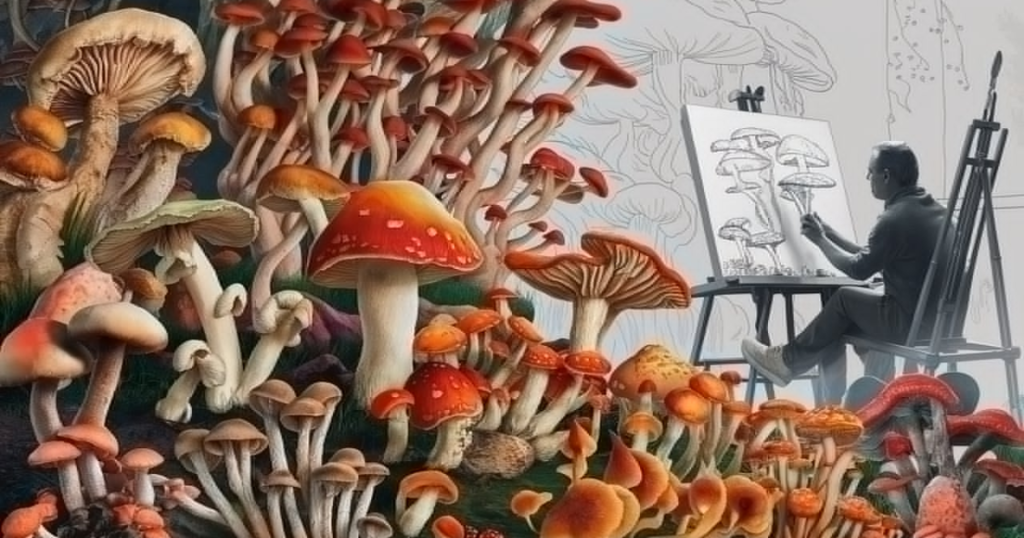
There are thousands of mushroom species, each with unique characteristics. Some common types to consider drawing include button mushrooms, shiitake, chanterelles, morels, and oyster mushrooms. Research different mushroom species to expand your drawing repertoire and challenge your skills with various shapes and textures.
Sketching Techniques for Mushrooms
Basic Shapes and Proportions
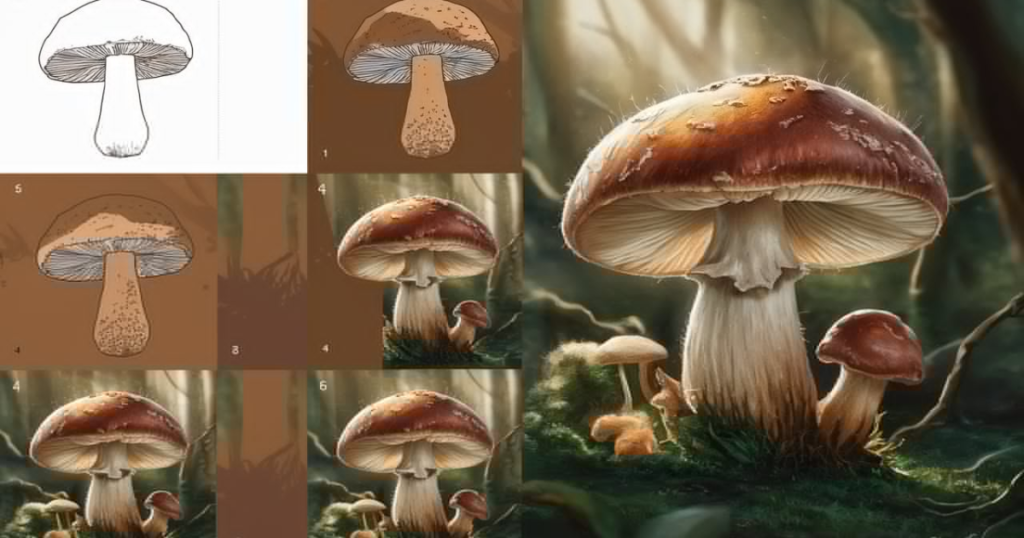
Start your mushroom drawing by sketching the basic shapes and proportions. Begin with a light circle or oval for the cap, add a vertical line for the stem, sketch the overall silhouette of the mushroom, and then refine the shapes, adjusting proportions as needed. Remember to keep your initial lines light, allowing for easy adjustments as you develop the drawing.
Adding Details and Textures
Once you have the basic shape, begin adding details and textures to bring your mushroom to life. Sketch the gills or pores under the cap, add texture to the cap surface (smooth, scaly, or wrinkled), include any distinctive features like rings or volva, and draw the ground or substrate the mushroom is growing from. Pay attention to the unique characteristics of your chosen mushroom species to create an accurate representation.
Shading Techniques for Realistic Mushrooms
Creating Volume and Form
Proper shading is crucial for giving your mushroom drawings a three-dimensional appearance. Use techniques such as gradual shading, cross-hatching, blending, and highlights to create volume and form. Experiment with different shading techniques to find the ones that best suit your style and the mushroom you’re drawing.
Rendering Textures
Mushrooms come in a variety of textures, from smooth to scaly. For smooth surfaces, use gentle, even shading. Scaly textures can be created with overlapping curved lines or small shapes. Wrinkled surfaces require irregular lines and shadows, while fuzzy textures can be achieved through stippling or short, irregular strokes. Practice these techniques to accurately represent the diverse textures found in different mushroom species.
Adding Color to Your Mushroom Drawings
Choosing a Color Palette
Selecting the right colors can bring your mushroom drawings to life. Consider natural mushroom colors like browns, whites, grays, and earthy tones, as well as vibrant hues for colorful species. Don’t forget to think about background colors that complement or contrast with your mushroom. Research reference images of your chosen mushroom species to ensure accurate color representation.
Color Application Techniques
There are various ways to add color to your mushroom drawings. Try layering to build up color gradually for depth and richness, blending for smooth transitions, dry brush technique to create texture with watercolors, or colored pencil burnishing for a rich finish. Experiment with different color application methods to find the ones that best achieve your desired effect.
Composing Mushroom Scenes
Creating Realistic Environments
To make your mushroom drawings more engaging, consider incorporating realistic environments such as forest floors, tree trunks, grassy areas, or fairy rings. Pay attention to the natural habitats of your chosen mushroom species to create authentic and immersive scenes.
Incorporating Other Elements
Enhance your mushroom drawings by including complementary elements like small insects, dew drops, lighting effects, or seasonal elements. These additional details can add interest and context to your mushroom artwork.
Developing Your Unique Style
Experimenting with Different Mediums
Don’t be afraid to explore various artistic mediums to develop your unique mushroom drawing style. Try watercolors for soft, ethereal scenes, ink and wash for bold lines with subtle washes, mixed media for incorporating collage or textured elements, or digital drawing to explore digital brushes and effects. Trying different mediums can help you discover new techniques and effects for your mushroom art.
Stylized Approaches to Mushroom Art
Consider exploring stylized approaches to mushroom drawing, such as whimsical cartoon-like characters, abstract interpretations focusing on shapes and patterns, minimalist designs using simple lines and shapes, or surrealist compositions combining mushroom elements with unexpected imagery. Developing a unique style can help your mushroom artwork stand out and express your creative vision.
You Like To Read This:
Table: Common Mushroom Drawing Mistakes and How to Avoid Them
| Mistake | How to Avoid |
| Incorrect proportions | Study reference images and use basic shapes for initial sketches |
| Flat-looking drawings | Focus on shading techniques to create volume and form |
| Unrealistic textures | Observe and practice rendering various mushroom textures |
| Inaccurate colors | Research mushroom species and use reference photos for color guidance |
| Lack of detail in gills/pores | Pay close attention to the underside structure of mushroom caps |
| Stiff or unnatural composition | Incorporate environmental elements and vary mushroom positions |
| Overworking the drawing | Know when to stop and avoid adding unnecessary details |
Conclusion
Mastering the art of mushroom drawing is a rewarding journey that combines observation, technique, and creativity. By following the step-by-step guide in this article, you’ve learned essential skills for creating stunning mushroom artwork. Remember to practice regularly, experiment with different techniques, and develop your unique style. As you continue to refine your skills, you’ll find that mushroom drawing opens up a fascinating world of botanical illustration and artistic expression.
Whether you’re creating realistic scientific illustrations or whimsical mushroom-inspired art, the techniques you’ve learned here will serve as a strong foundation for your artistic growth. So grab your drawing tools, find some inspiring mushrooms, and let your creativity flourish!
FAQs
What’s the best way to practice mushroom drawing for beginners?
Start by sketching simple mushroom shapes from reference photos or real specimens. Focus on basic forms before adding details and textures.
How can I make my mushroom drawings look more realistic?
Pay attention to light and shadow, use reference images, and practice various shading techniques to create depth and texture in your drawings.
What drawing materials are essential for creating detailed mushroom artwork?
High-quality drawing paper, a range of graphite pencils (HB to 6B), fine-liner pens, and erasers are essential for detailed mushroom drawings.
How do I choose the right colors for my mushroom drawings?
Research the specific mushroom species you’re drawing and use reference photos to guide your color choices. Consider the mushroom’s habitat and lighting conditions.
Can I use digital tools for mushroom drawing?
Yes, digital drawing tools can be excellent for mushroom art. Many artists use tablets and software like Procreate or Photoshop for creating detailed mushroom illustrations.