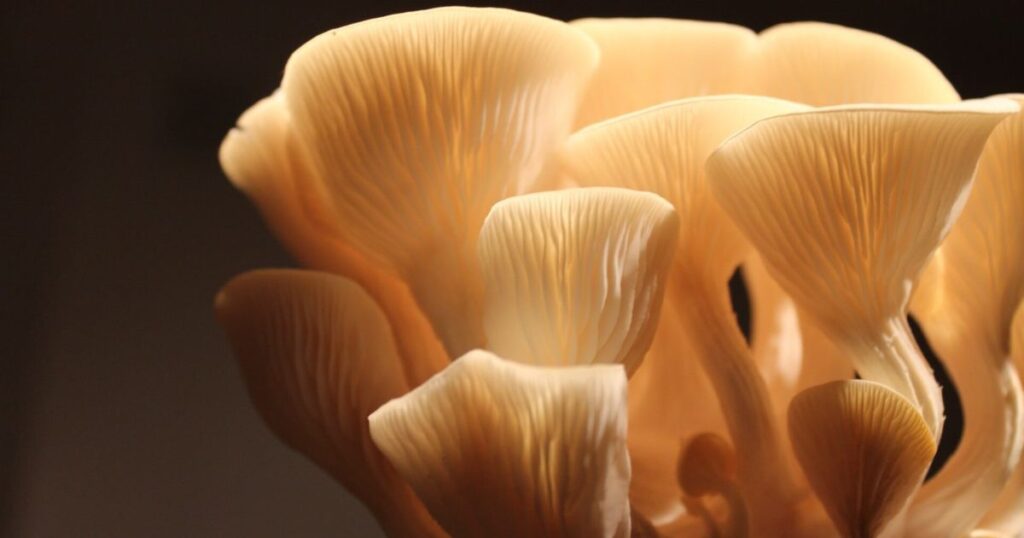
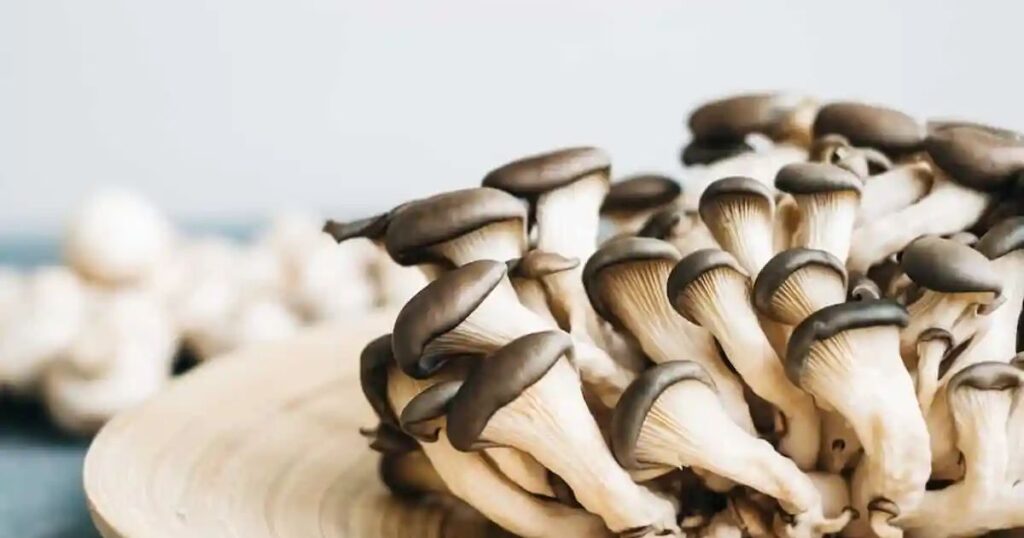
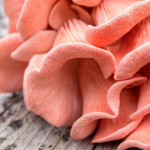
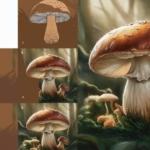
Oyster mushrooms are edible fungi with a delicate texture and mild, slightly sweet flavor. They typically grow on decaying wood in temperate and subtropical forests. Known for their fan-shaped caps, they come in various colors, including white, gray, and yellow.
Oyster mushroom by dicover the culinary and nutritional marvel. With its delicate texture and mild flavor, it transforms any dish into a gourmet delight. Easy to grow at home, these mushrooms offer a sustainable and fresh food source. Packed with vitamins and antioxidants, they boost your health while tantalizing your taste buds. Start your oyster mushroom journey today and elevate your meals to the next level. Cultivating them at home is easy and sustainable, providing a continuous supply of fresh mushrooms.
Oyster mushrooms, scientifically known as Pleurotus ostreatus, are widely cultivated for their unique flavor and health benefits. They have a fan-shaped cap and come in various colors such as white, gray, and pink. These mushrooms thrive on decaying wood and are known for their rapid growth and high yield. Rich in vitamins, minerals, and antioxidants, oyster mushrooms support immune health and have anti-inflammatory properties. They are also a good source of protein and fiber, making them a nutritious addition to any diet.
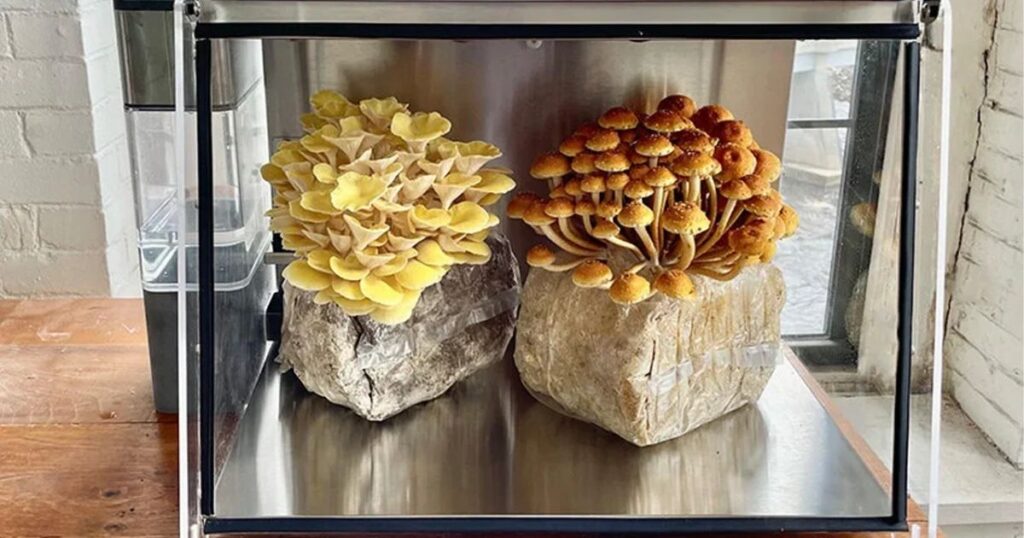
Grow Your Own Oyster Mushrooms At Home
If you’re a mushroom lover like me, you’ve probably drooled over those beautiful clusters of oyster mushrooms at your local farmers market or grocery store. With their velvety texture and mild, almost sweet flavor, oyster mushrooms are versatile in the kitchen and a prized ingredient for vegetarians and omnivores alike.
But did you know you can actually grow these delectable fungi right in your own home? It’s true! With just a few simple supplies and some oyster mushroom spores, you can cultivate your very own oyster mushroom crop. Not only is it deeply satisfying, but you’ll have an endless supply of fresh mushrooms for all your culinary adventures.
Growing mushrooms at home has been gaining popularity in recent years as more and more people discover the joy and ease of mushroom cultivation. You don’t need a green thumb or even any outdoor space – just a cool, humid spot in your home or apartment will do. Think of it as a fun science experiment that rewards you with fresh, delicious mushrooms.
In this guide, I’ll walk you step-by-step through the process of growing oyster mushrooms from spores. We’ll cover everything you need to get started, how to inoculate your substrate, proper care for maximum yields, and tips for a clean and successful mushroom harvest. Are you ready to become a mushroom farmer? Let’s grow!
Understanding Mushroom Life Cycles
Before we dive into the growing process, it’s helpful to understand the basic life cycle of a mushroom. This will give you insight into what’s happening behind the scenes as you cultivate your oyster mushroom crop.
Mushrooms are the reproductive structures (“fruits”) of fungal organisms. While the main body of the fungus is an underground network of threadlike roots called mycelium, the visible mushroom sprouts up when the mycelium is mature and ready to spread its spores.
The mushroom “cap” is covered in aLayer of spore-producing cells called the hymenium. As the cap opens up, millions of microscopic spores are released to be carried away by wind, water, or insects. If conditions are right, the spores will settle in a suitable environment, germinate, and begin growing new mycelium – starting the life cycle over again.
When we grow mushrooms, our goal is to provide the perfect conditions for spores to germinate and develop into a thick, healthy mycelium network. Once the mycelium has fully colonized its food source (the “substrate”), it will produce those glorious mushroom fruits that we love to eat.
What You Need to Grow Oyster Mushrooms
Now that you understand the mushroom life cycle, let’s go over the supplies you’ll need to start your oyster mushroom farm. Don’t worry – it’s a short list and most items can be found online or at your local garden store.
Oyster Mushroom Spore Syringe
To get started, you’ll need a liquid culture syringe containing thousands of viable oyster mushroom spores. Unless you have access to wild spore prints, ordering an inoculant online is best for beginners. Look for a reputable supplier that offers fresh, fertile oyster mushroom strains.
Substrate (Growing Medium)
The substrate provides nutrition and an ideal environment for the mushroom mycelium to thrive. Oyster mushrooms are wood-decomposers, so you’ll want a substrate made from straw, sawdust, wood chips, or similar materials. Many growers use supplemented sawdust or straw pellets for optimal yields.
Clean Containers
You’ll need sealable, sterilized containers to hold your inoculated substrate while it colonizes. Food-grade plastic buckets or grow bags work great. Avoid jars or containers with small openings.
Spray Bottle
A spray bottle will be used to regulate the humidity levels and mist the substrate and fruiting mushrooms as needed.That’s it! As you can see, the supply list is mercifully short. If desired, you can also obtain a few other small tools like a substrate temperature gauge, rubber gloves, rubbing alcohol for sanitizing, and a small hand cultivator. But the basic items above are all you really need to get started.
Read More:
The History Of Psilocybin And Its Potential Future
How to Inoculate Your Substrate
Ok, you’ve gathered your supplies – now it’s time to get those oyster mushroom spores going! The first step is to prepare your substrate and introduce it to the mushroom spores through a process called inoculation. Here’s what you need to do:
Hydrate and Sterilize the Substrate
If using loose substrate like straw or wood chips, you’ll first need to lightly moisten and sterilize the material. This can be done by loading the substrate into sealable plastic bags, adding a bit of water, and then pressure cooking or steaming the bags at 245°F for 60-90 minutes. Allow to cool completely before moving to the next step.
If your substrate comes pre-sterilized and ready to use (like sawdust pellets), you can simply rehydrate according to the manufacturer’s instructions and skip the sterilization step.
Load Substrate into Containers
Under sanitized conditions, load your hydrated substrate into your growing containers, filling them about ¾ full and gently tamping down. The substrate should hold its shape when squeezed but not be dripping wet. Aim for around 65-70% moisture content.
Inoculate with Spore Syringe
Using your spore syringe, carefully inject the liquid culture across the surface of the substrate. Aim to distribute the spores as evenly as possible by making holes every few inches and injecting a small amount into each hole. Be sure to squeeze out any excess air bubbles when you’re finished.
Seal and Store
Once inoculated, seal the containers and place them somewhere warm (70-80°F) and dark for incubation. You’ll want to keep the lids closed for now but make sure to leave a few air hole clusters so the mycelium can breathe.
Over the next 10-14 days, you should start to see the fluffy, white mycelium spreading through the substrate. Be patient and avoid opening the containers during this time – it’s a race for the mushroom mycelium to win against any competing fungi or bacteria.
If you see no growth after 2-3 weeks, don’t panic – some strains of oysters can be slow starters. Just make sure temperatures are staying within the ideal range. As long as there’s no weird smells or colors, give it some more time.
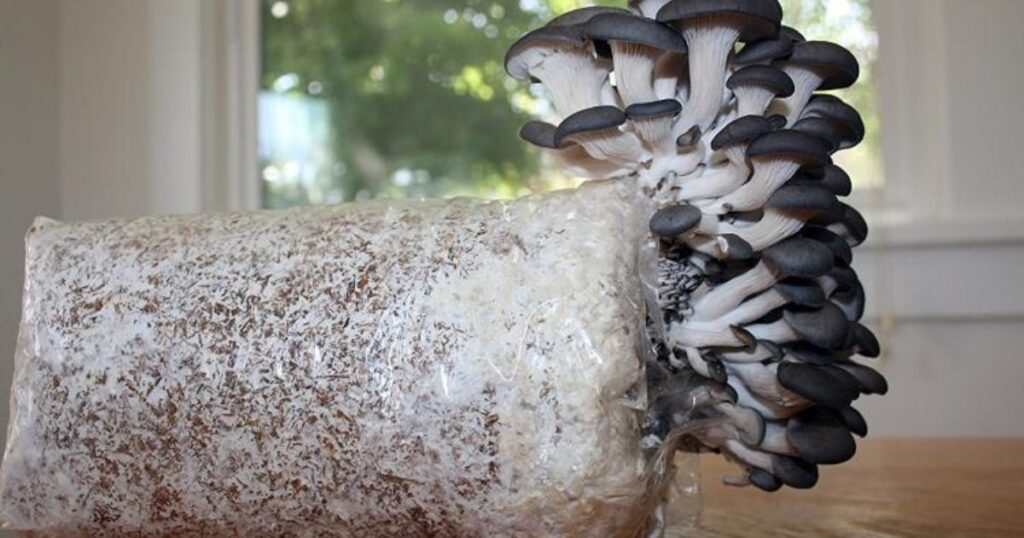
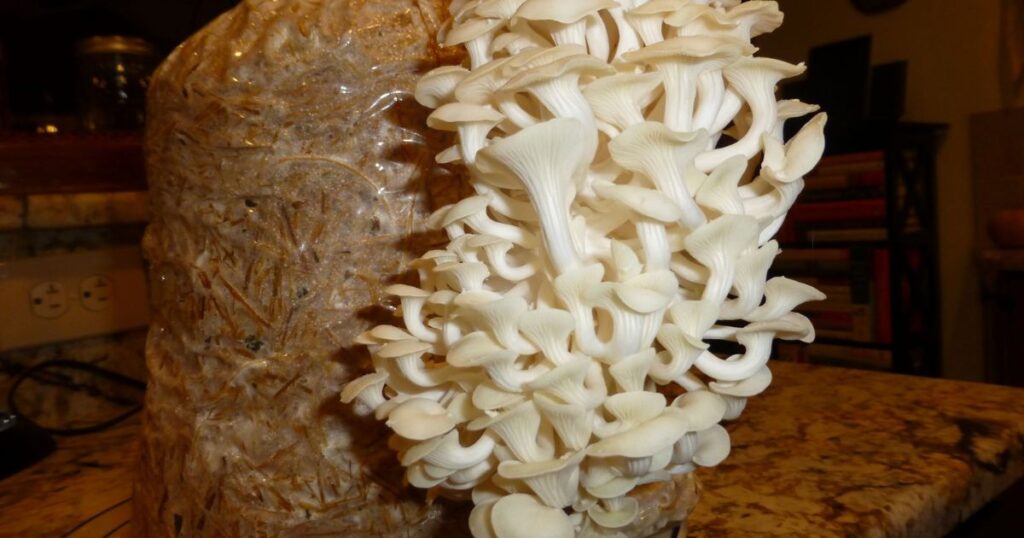
Spawning to Bulk Substrate for Maximum Yields
Once the mycelium has fully colonized the initial substrate (showing thick, ropey strands throughout), it’s time for spawning to bulk substrate. This simply means transferring and mixing the colonized spawn into a larger container filled with more hydrated substrate. Why do we do this? Basically, it’s to maximize the surface area and provide bountiful nutrition for the mushrooms to develop their full fruiting bodies.
To spawn to bulk, you’ll need:
- Large, clean plastic containers with lids (5-10 gallon size)
- Fresh hydrated bulk substrate
- Your fully colonized spawn containers
- A diligent work station for sanitization
Begin by loading your fresh bulk substrate into the new, larger containers, filling them up about ⅔ full. Then, take your colonized spawn and break it into rough chunks using clean hands or a cultivator tool. Distribute and mix these mycelium-covered chunks thoroughly throughout the bulk substrate, getting good coverage and distribution.
Once fully mixed, level out the substrate, mist the surface lightly, and install the lids with air hole clusters much like before. Place the new containers back into your incubation area (70-80°F) for another week or two, allowing the mycelium to spread fully through the new bulk substrate.
During this time, you may see popcorn-like primordia “pins” beginning to form this is a good sign that fruiting is on its way.
Fruiting & Mushroom Harvest
After 10-14 days of colonizing the bulk substrate, the mycelium should be showing signs of preparing to fruit by forming hyphal knots. At this point, you’ll want to introduce fruiting conditions to coax the mushrooms into developing their mature reproductive bodies. Oysters in particular thrive in a humid environment with free air exchange.
To initiate fruiting
Increase Fresh Air Flow
Remove the lid completely and fold down the sides of your container, or cut large openings for air exchange. You can also install small computer fans for added air circulation.
Light the Area
Mushrooms will not fruit without some light exposure. Provide 8-12 hours of indirect or filtered light per day. Sunlight is ok, but avoid direct rays.
Maintain Humidity
Mist the surface with cool water 1-2 times per day, being careful not to over-saturate the substrate. You’ll want to keep humidity levels around 85-92% for optimal pinning and fruiting.
FAQs
What are oyster mushroom spores?
Oyster mushroom spores are tiny reproductive cells released by mature oyster mushrooms. They are essential for the propagation and growth of new mushrooms.
How do I collect oyster mushroom spores?
To collect spores, place a mature mushroom cap gill-side down on a piece of paper for several hours. The spores will fall and create a print, which can then be used for cultivation.
What conditions are needed for spore germination?
Oyster mushroom spores require a humid environment, moderate temperatures, and a nutrient-rich substrate. Maintaining these conditions ensures successful germination and growth.
Can I grow oyster mushrooms indoors?
Yes, oyster mushrooms can be grown indoors with the right setup, including a suitable substrate, proper humidity, and ventilation. Indoor cultivation allows for year-round harvesting.
How long does it take to grow mushrooms from spores?
It typically takes several weeks for spores to germinate and develop into mature mushrooms. The exact timeline depends on environmental conditions and care.
Conclusion
Growing oyster mushrooms at home from spores is a rewarding and eco-friendly endeavor. By understanding the basics of spore collection and the conditions needed for their growth, you can cultivate a continuous supply of fresh, nutritious mushrooms. Whether you’re a novice gardener or an experienced grower, the process is relatively simple and highly gratifying.
Not only do you gain the satisfaction of producing your own food, but you also contribute to sustainability by reducing the need for store-bought mushrooms. Start your journey into mushroom cultivation today and enjoy the countless benefits of homegrown oyster mushrooms.


1 thought on “Oyster Mushroom Spores – Grow Oyster Mushroom At Home”